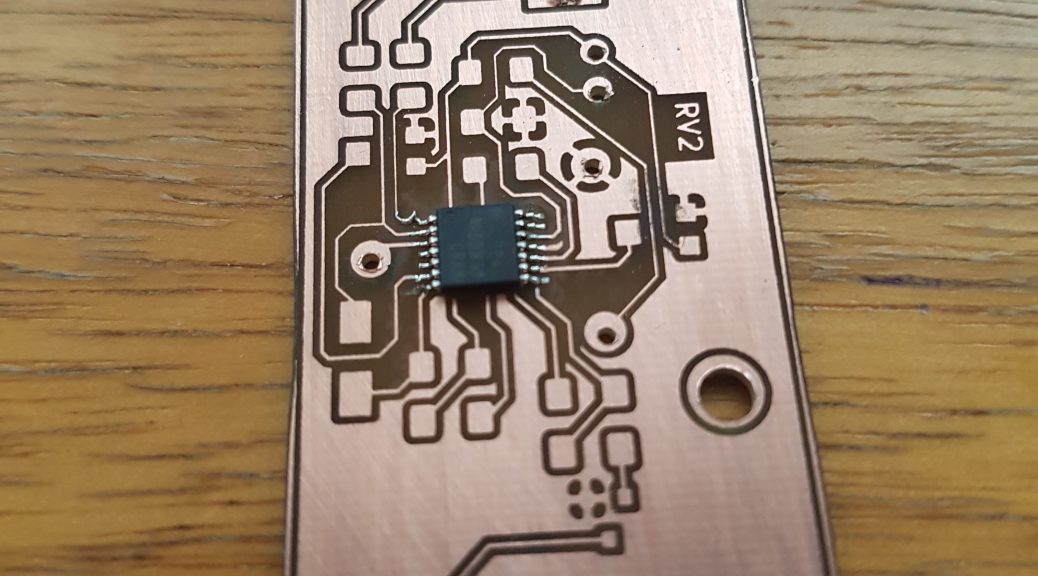
DIY Circuit Boards: A slightly different approach (Part 1)
In the beginning of their journey, most hobbyists use perfboards or stripboards to assemble their circuits permanently. These boards allow for a lot of flexibility, but the act of wiring any circuit consisting of more than just a handful of components can become quite painstaking. Fortunately, professional PCB manufacturers (like jlcpcb.com for example) offer their services at exceptionally low prices nowadays, so getting your design produced and shipped to you door is affordable for many electronics enthusiasts. However, this option has a few drawbacks, at least in my opinion. So before I describe the details of the process to you, let me explain why I went through all this effort:
1. Speed
Don’t get me wrong, I have made great experiences with the aforementioned manufacturer, getting your PCBs produced and shipped from Hong Kong to Germany within one week is absolutely amazing.
Sometimes however, you just want to build a quick prototype or try something out. At that point, a setup that can reliably produce single circuit boards at home in an afternoon comes in really handy!
2. Minimum order quantity and the likelihood of mistakes
The fact that you can order as few as five boards is quite nice, but hobbyists are often satisfied with just one example of their design. The four other boards are likely to end up collecting dust in some drawer, at least that’s my experience. Additionally, the fact that we all make mistakes everyday makes it even more likely that you will have to throw away a bunch of boards sooner or later.
Together with the fact that ordering a lot of stuff from overseas puts a strain on the environment, these points cause many electronics enthusiasts to seek a way of producing their own circuit boards at home.
The classic way most people are probably aware of starts with printing a mask on a sheet of mylar, which is then used to shield certain regions of a raw circuit board coated in photoresist from UV-light. After exposing the board to UV, a developer solution is used before the actual etching can start. This process involves quite a few variables that can decide over the success or failure of the run. Toner density, exposure time, developer concentration and photoresist age must be well within certain tolerances in order to guarantee a good result.
Also, the pre-coated boards don’t allow for any screw-ups. Once messed up (through over exposure or something else), they can only be reused by giving them a new coat in photoresist, which is neither easy nor cheap. This is why I wanted to have a different process that avoids resist-based methods completely.
In 2020, I came across two videos by Marco Reps. In one of them, he used a rather low power laser mounted to his 3D-printer to expose a pre-coated board directly, in the other one he used a more powerful laser engraver in order burn his design into a mask made from hardware store spray paint.
The achieved accuracy and repeatability together with the possibility to avoid photoresist made this approach sound very promising, so I gave it a try.
In the next part of this article I will reveal my setup and results, together with all the experiences I made along the way, so stay tuned!
One thought on “DIY Circuit Boards: A slightly different approach (Part 1)”
WONDERFUL Post.thanks for share..more wait .. ?